


The Process Of Designing A Logo:
The thing with design is that the process is always unique with each creation. Therefore, I thought I would share the process of creating a logo using an example of one of my projects I did for my sister, Yvette. Lucky for me she was kind enough to let me document the process.
- Design Brief
Usually, when a client contacts me, the first thing I usually ask for is a design brief. The design brief usually contains the name of the company, what the company is all about, and if there are any specific colors used or preferred by the client, it is important to include that as well. Here is what Yvette sent as her brief:
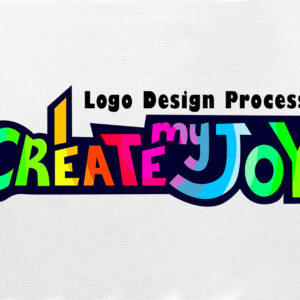
-The name of the company: I Create My Joy
-She’s a design coach for survivors of abuse.
-She helps people create an environment of joy that brings healing while creating a community of awareness and respecting people’s right to make decisions.
She also shared her website to go through, so that I can have a general feel and direction on her test. It mostly helps me explore and get an identity for the company, and be able to select the colors.
- Research and brainstorming
This is where I would conduct research and focus on the industry, its history and competitors, but with Yvette the research and brainstorming process was easy. Yvette already knew what she wanted. She already stated that the important things to note for the logo along with the brief. Example, she wanted a text style logo (Known as a Wordmark logo) with all the words written in it. As for the colors, she didn’t give me any specific colors but she knew she wanted something bright and colorful like on her website, https://yvetteslight.com/icreatemyjoy/.
-She also wanted the words “create” and “joy” to be more dominant.
-She wanted something that flows and shows gentle movement, because healing is a journey.
-She wanted something peaceful that looks like it came from a meditative state and something that expresses that you can have it all.
- Sketching
The sketching process is where I put in the research into practice and try out different looks for the logo. I envision what it would look like visually and bring out my thoughts into paper so that I can begin to have a visual representation.
- Design Execution
For the design execution I can either take on my drafted sketches or design new concepts all together to see what I come up with. After selecting the sketches I like best, I scan them to move them into the computer. I usually use adobe illustrator for the digital creative process. I try to come up with at least three different samples to show case so that I can give her a variation of choices to pick from.
- Presentation
I then save the three different concepts of designs created on a pdf format and send them to Yvette so that she can tell me what concept she prefers so that I am able to narrow down the concept and proceed in the right direction. Out of the three concepts she chooses two out of the three that she likes the most.
- Revisions
Using the chosen two concepts, I implement the changes given so that she can narrow it down to one. I then present the 2 chosen concepts as suggested again and again, adding colors on the different variations suggested so that Yvette can make a final decision. At this point I keep doing revisions and making the changes required until we both come to an agreement.
- Approval
The approval is when she is happy with the design and has made an approval of the final design.
- Delivery
I then work on the delivery of the logo and present them in the raw format file which I include the illustrator file and the pdf. I also include the png format so that she has the logo on a transparent background, and the jpg version of the logo so that she can use all around and keep the copies of the same.
1 Comment
graliontorile
September 25, 2020
Fantastic website. Lots of helpful information here. I?¦m sending it to a few pals ans also sharing in delicious. And obviously, thanks to your effort!